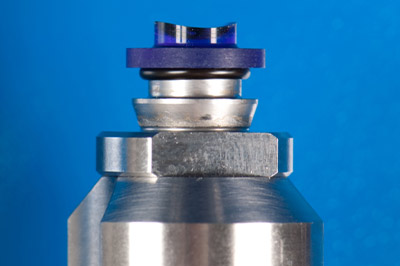
For the manufacture of ophthalmic lenses, molded parts are used that are critical in determining the properties of the resulting lens geometry. Inspecting the surface shape and the radius of curvature of tools, molds and semi-finished lenses is therefore an essential part of quality assurance and process control.
Benefits of wavefront-based surface measurement
The wavefront-based surface inspection captures the three-dimensional geometry of the measured surface, i.e. the radius of curvature and surface shape. In addition to the adjustment of the aspheric parameters (apex radius and conical constant), the Zernike analysis of the surface aberrations offers detailed analysis options, from which important information regarding the manufacturing process can be obtained – and this goes far beyond standard requirements – a clear benefit, e.g. in the development and optimization of innovative lens designs.
Wavefront measurement technology is also used for machine calibration: by manufacturing and measuring reference surfaces, the tool offset of the lathe can be determined precisely and thus allows adjustment of the offset for an optimal lathing result. See also our Appnote on lathe calibration.
Our solution for the surface inspection of ophthalmic lenses
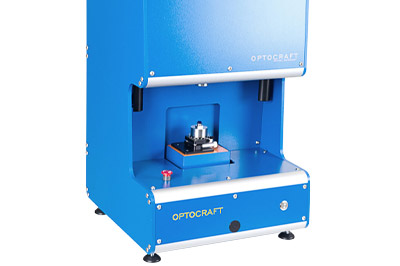
The SHSOphthalmic autoROC – a turnkey table-top device – offers comprehensive analysis options for the surfaces of ophthalmic lenses.
The SHSInspect RL module can be integrated easily into manufacturig systems and production lines.


